Table of Contents
Bolt and Beam

Blender workflow (click to toggle)
- Base mesh with animated displacement
Started with spheres and cylinders, layering them as needed. I made a procedural texture to use as displacement map. I then animated the texture by parenting the texture coordinates to an empty object that I keyframed. - Variations of animated textures
Texture was animated by randomizing Voronoi noise while scaling and moving it along the y-axis (z-axis upwards). Another variation of animated Voronoi noise was input as a transparency mask. Both the colors and the mask were made with constant interpolation on a color ramp. I also animated the mask’s color ramp.
Explosion
Using Opentoonz I created a very simple explosion sprite sheet. It’s all black for easy color modulation.


(click to toggle)Godot workflow
I took the explosion sprite and instanced it on a 2D particle system. I made the particles emit from the shape of a ring as that was the intended area of effect.
I used a color ramp with constant interpolation to modulate the color of each frame. I then randomized the size, lifetime, position, and rotation of the particles.
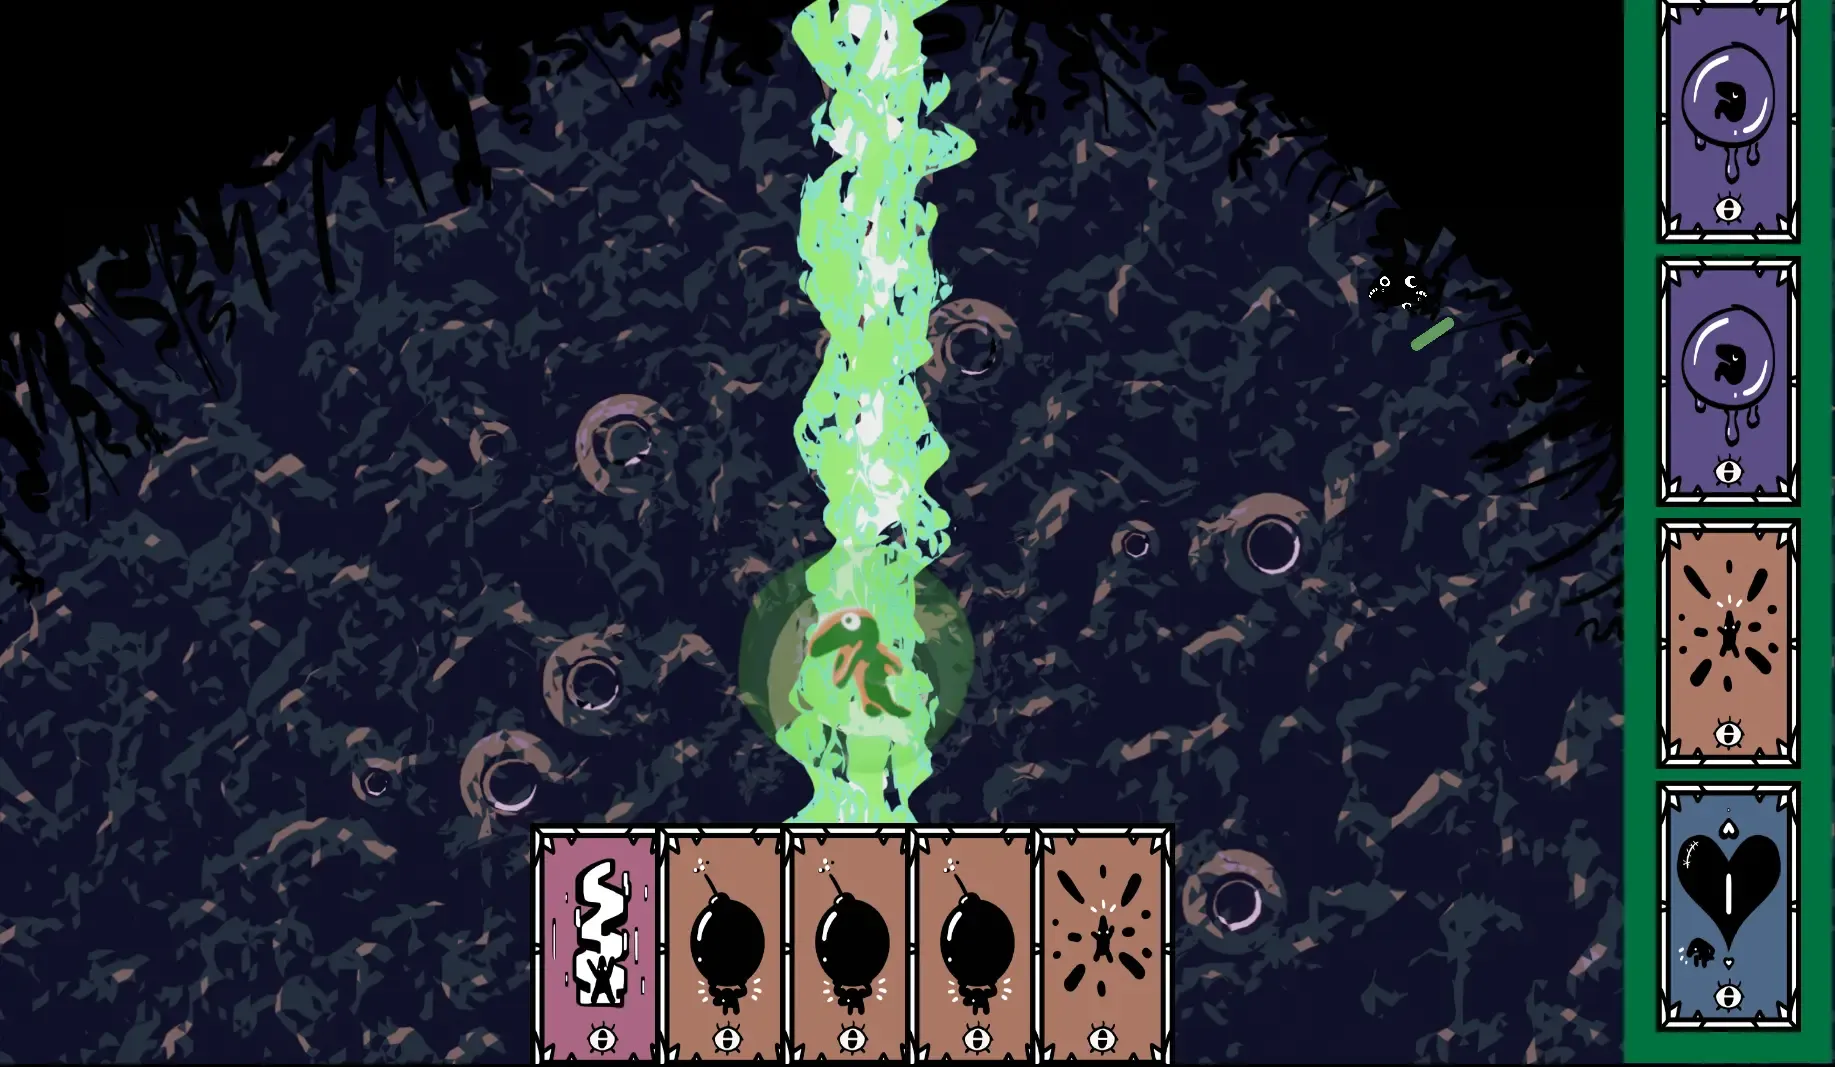
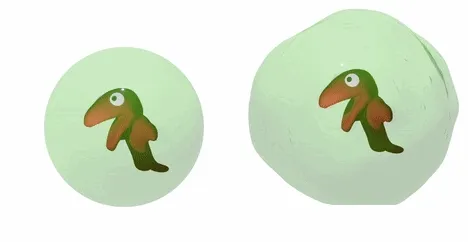
Goop Simulation Character Animation
The character for this game was a tiny alien floating in a viscous jelly type substance.
(click to toggle)Idle/Hit
This consisted of the character slowly floating in the jelly for the idle, and for the hit I wanted the jello to violently deform and jiggle as well as the character itself. In Houdini I used the Vellum solver to create the “jelly” like animations. The character animation and materials were composited afterwards in blender.
(click to toggle)Defeat
For this I wanted the jello blob to melt and for the character to launch upwards and fall down following small pre-rendered physics simulations. The melting was made in Houdini (with the same vellum solver, but without constraints to glue it together) while the rigid body sim was made in Blender.

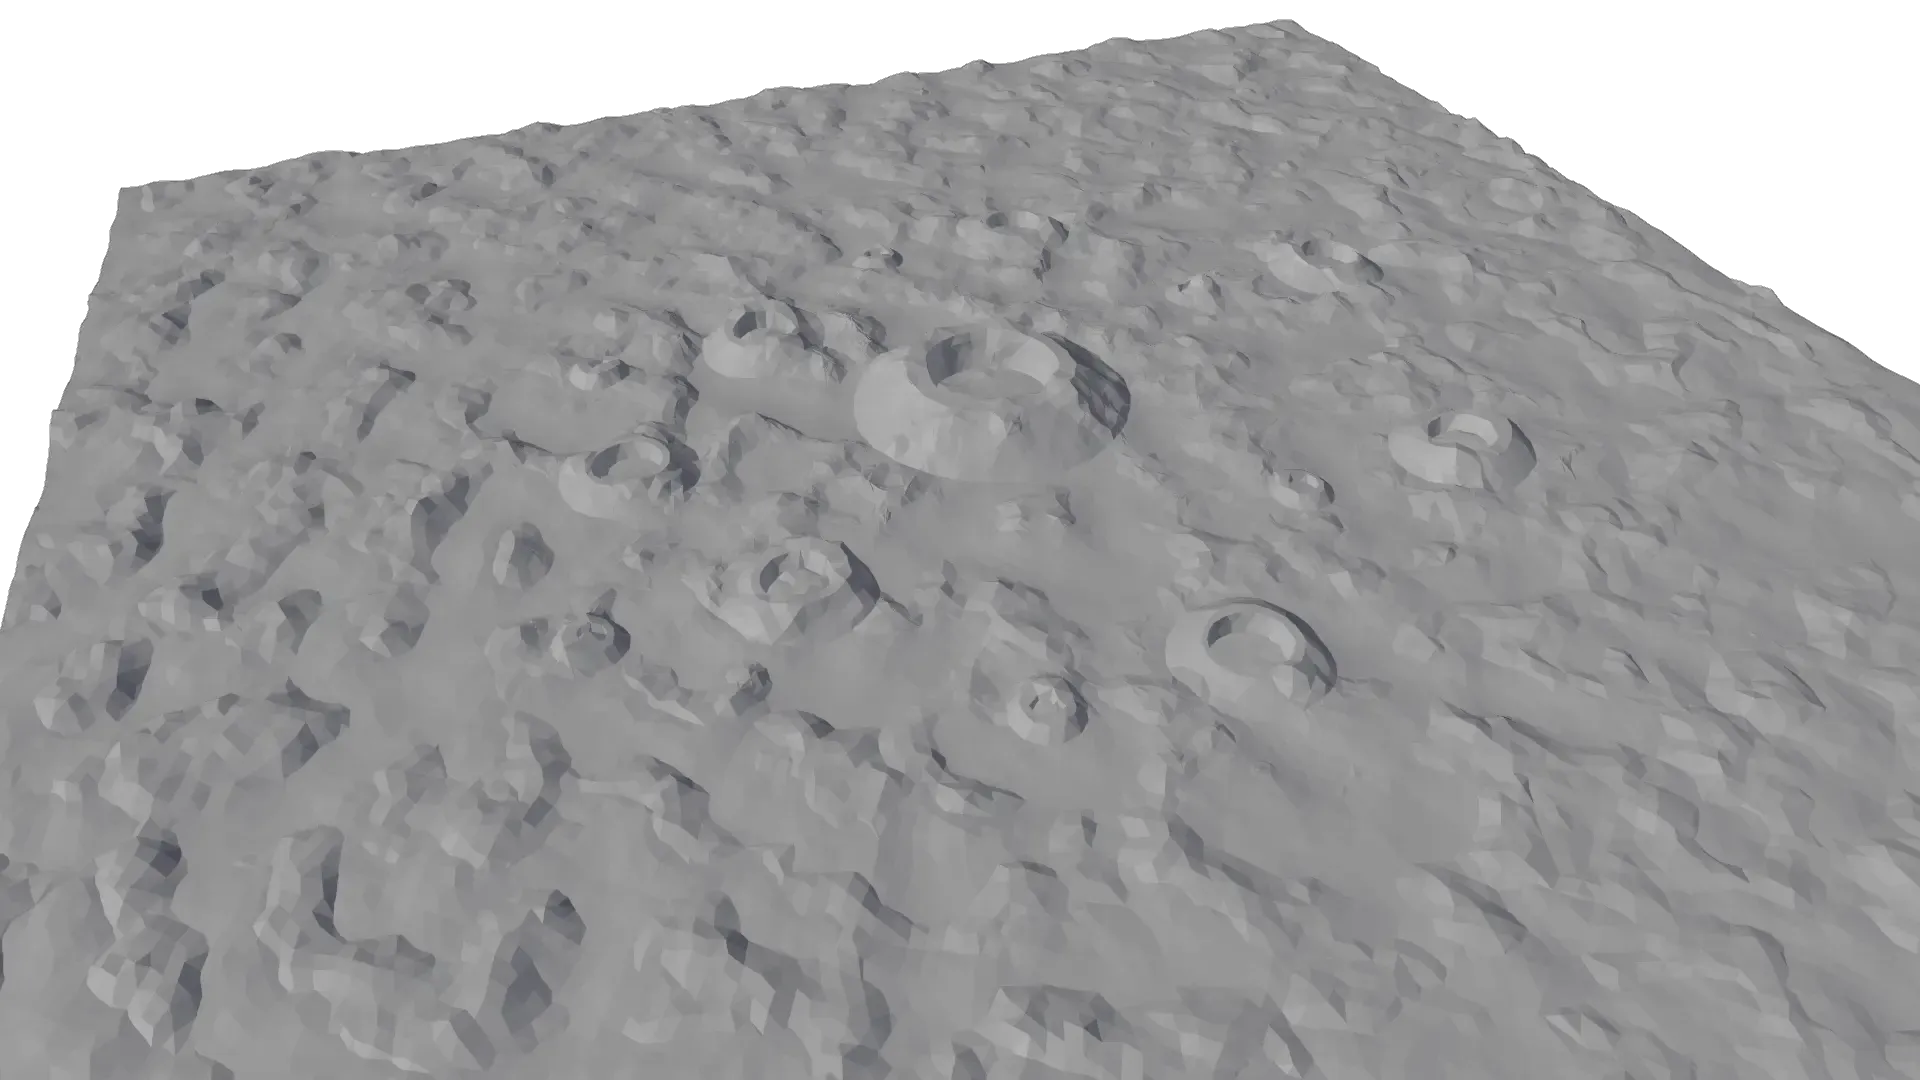
Environment
First I made a crater generator.
Houdini workflow (click to toggle)
I set up three layers of circles each with increasing radius. These would form the inside, outside bevel, and outer flat edge of the crater. I stored the y-axis value of these circles. Next I triangulated the space between the circles then subsequently remeshed it. (Much like what I did for my geospatial visualization project) Then I created sliders for the previously stored Y-values so I could procedurally reshape the crater.

I took this procedural crater and instanced it across points that I scattered over a plane with two levels of noise displacement.
For rendering this in blender I simply used a HDRI to light it and then quickly created a cell shader to add interesting values.
