Zbrush
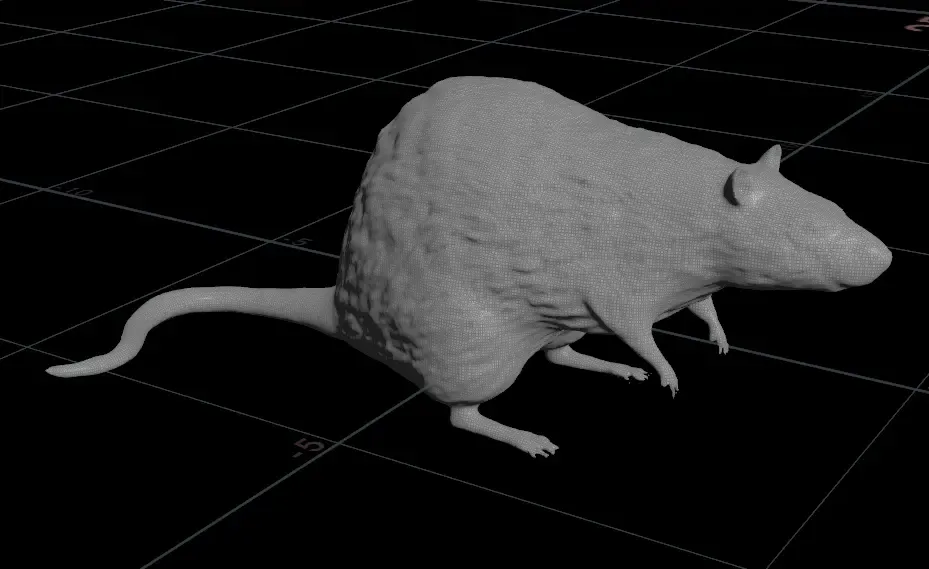
I starting with sculpting a quick and dirty rat model in ZBrush.
Houdini
VFX workflow (click to toggle)
-
I remeshed the rat model with tris and added normals to the points. Using the vector cross product of the normals with a predefined direction I added velocity to each particle; This way the particles would move according to the mesh’s surface.
-
I then subtracted each particle’s position by the closest proximity vector on the mesh. This pulls the particles closer to the surface of the mesh. Otherwise they would infinitely fly away due to the continually applied velocity.
-
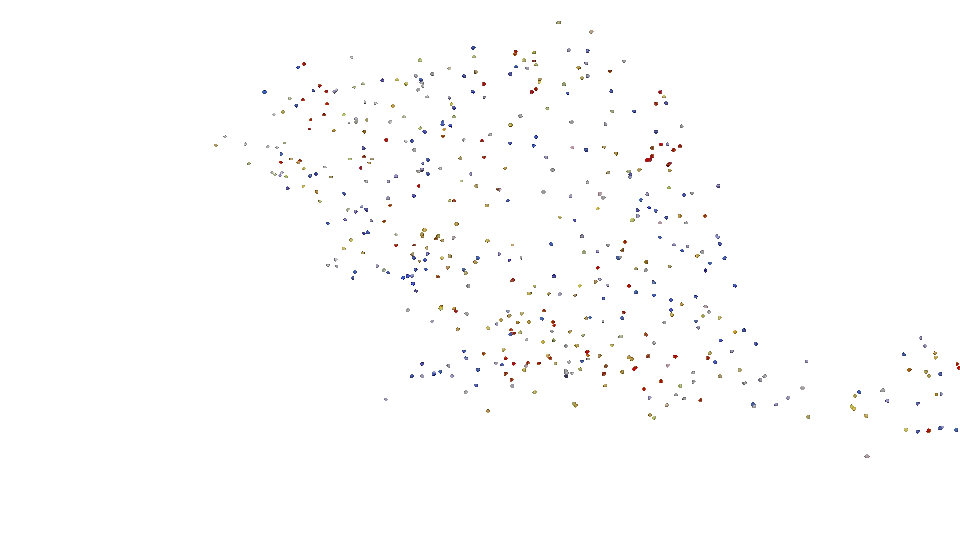
Next I instanced boxes onto the particles and made them each create trails of particles behind them that shrunk in size as their lifetime decreased. The colors were simply created by layering patterns of noise each with their own color.
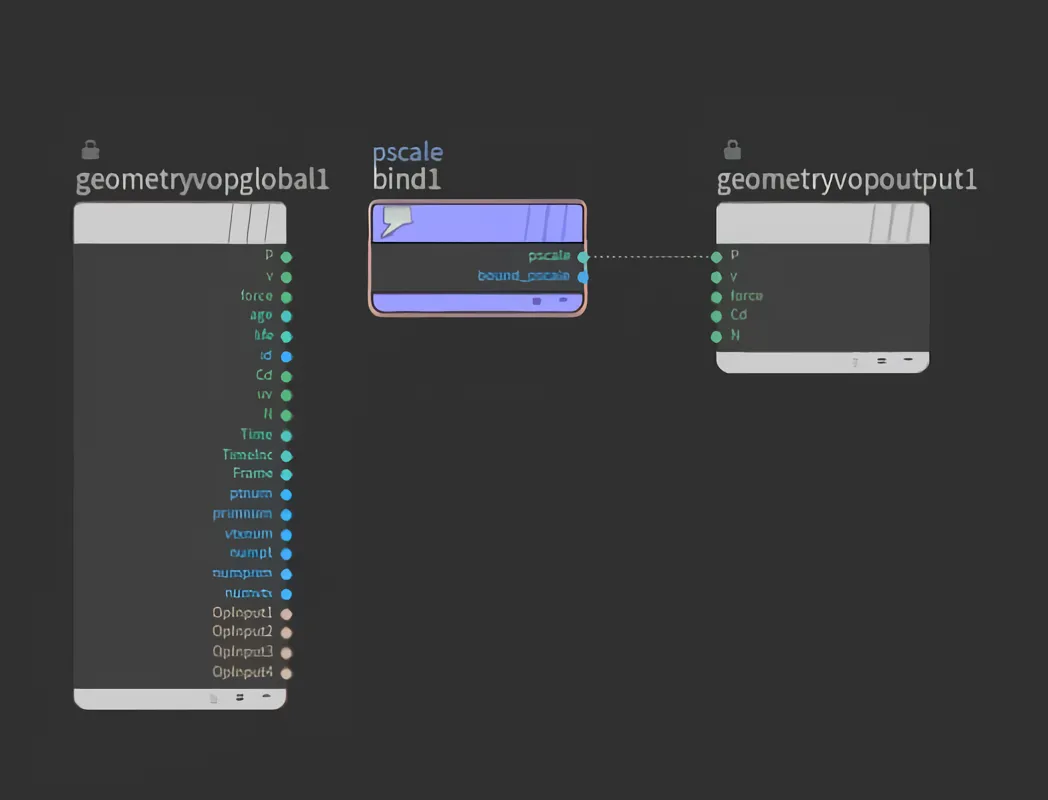 As shown above, converting various particle attributes to position data is fairly simple.
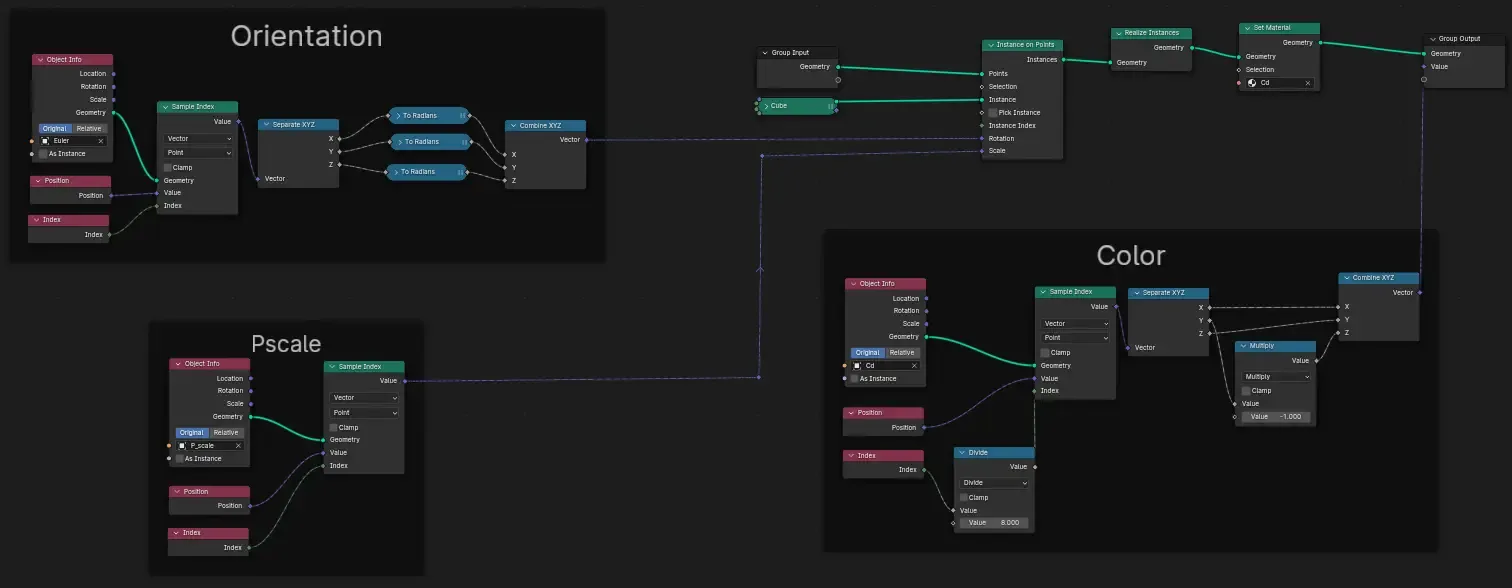
Blender
The Houdini data was exported into 3 Alembic files: one each for the particle position, orientation, scale, and color attributes. I used blender’s geometry nodes feature to procedurally connect all this data to recreate the houdini simulation.